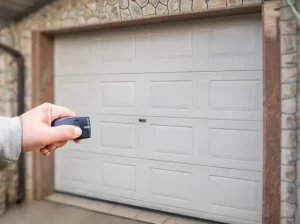
Programming a garage door opener remote is one of the most common homeowner tasks, but the steps can vary depending on the opener brand, security type, and model generation. Understanding the correct pairing process helps ensure smooth operation and reliable access across most opener models.
In San Francisco, CA, signal interference, smart integrations, and aging components can sometimes affect remote setup and functionality. Learning the right programming steps can help you troubleshoot faster and avoid booking garage door repair when the real issue is simply a remote that needs proper pairing.
What Can Prevent Garage Door Opener Remote Programming in San Francisco, CA
A garage door opener remote may fail to program due to a weak battery, lock mode, receiver issues, or local interference, so a few quick checks can help you complete setup on the first try.
Common reasons programming does not complete successfully include:
- The remote battery is low, so the signal is too weak during pairing.
- The wall control is in lock or vacation mode, which blocks remote commands.
- The opener receiver is not consistently detecting the remote signal.
- LED bulbs or nearby electronics are creating interference near the opener.
- The learn-mode timing window is missed, so the opener never stores the remote.
If these issues sound familiar, read our blog on Why Is My Garage Door Opener Remote Not Working? to pinpoint the exact cause before you attempt programming again.
Programming Prep Checklist for Reliable Results
A few quick prep steps help your garage door opener remote program correctly and reduce the need for repeat setup attempts.
Prep checklist to run before programming:
- Replace the remote’s battery to ensure a strong signal.
- Confirm the door closes smoothly with the wall control.
- Stand close for setup, then test from your normal parking spot.
- Keep other remotes away to avoid accidental pairing conflicts.
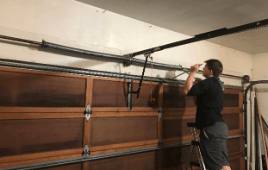
- Confirm the opener antenna is visible and not damaged.
Testing from a couple of spots is helpful in San Francisco garages where signal noise or nearby devices can affect remote response.
Garage Door Remote Programming Methods by Opener Type
Learn Button Pairing on the Opener Head
Learn-button setup pairs a garage door opener remote directly to the opener’s memory and is the most common method on many openers in San Francisco, CA.
Follow this programming sequence:
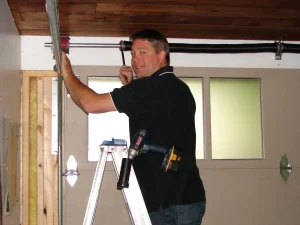
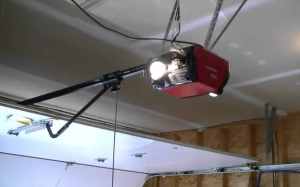
- Locate the learn button on the opener head near the motor unit, often behind the light cover.
- Press and release the learn button once to enter pairing mode.
- Press and hold the remote button you want to assign within 30 seconds.
- Release the button when the opener light flashes, or you hear a click.
- Test open and close twice to confirm a reliable response.
A correct pairing usually shows a clear confirmation signal and consistent operation within normal range, and if open-and-close testing still feels inconsistent, a track realignment can help reduce travel resistance.
Wall Control Panel Setup for Remote Controls
Wall-control programming lets you add remote controls through the indoor control panel, which is useful when the opener unit is hard to reach or mounted high.
Use the wall-control menu steps below:
- Press the wall control “Menu” or “Settings” button to access programming options.
- Select the option to add or program remote controls.
- Choose a button slot if the display prompts you to assign one.
- Press the remote button when the wall control indicates it is ready.
- Exit the menu and test the remote from the driveway position.
Successful setup is confirmed when the remote responds the same way from your usual parking spot and continues working after multiple open-and-close cycles.
Keypad-Assisted Pairing to Confirm Signal
Keypad-assisted programming helps confirm the opener is responding to access inputs when remote pairing is inconsistent, especially when signal conditions are less stable.
Use a keypad check to guide pairing:
- Confirm the keypad opens and closes the door normally using the correct PIN.
- Put the opener into pairing mode using the learn button or the wall control method.
- Press the remote button you want to program, then wait for the opener’s confirmation flash.
- Test the remote immediately after the confirmation signal.
- Test the keypad again to confirm the opener responds consistently to both inputs.
A stable result means both devices operate the door reliably, which helps rule out receiver instability and points you toward the true cause if problems continue.
Universal Remote Setup With Brand Codes
Universal remote setup relies on matching the correct brand family and frequency type, so identifying the opener brand and model first prevents wasted code attempts.
Try code-based pairing in this order:
- Confirm the opener’s brand and locate the opener model number on the label.
- Put the universal remote into programming mode using its instructions.
- Enter the first recommended code for your brand and test the door operation.
- Repeat with the next code if the first attempt does not respond.
- Save the working code and test it, open and close twice for consistency.
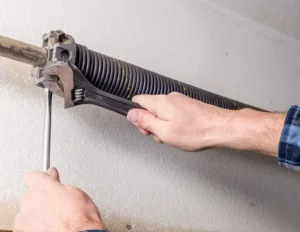
The best match is the code that responds reliably at normal distance, and if the door still strains or stops during testing, a spring & cable safety tune-up can help confirm the door is moving safely and smoothly.
Rolling Code Remote Pairing for Secure Systems
Rolling code systems use a secure signal that changes after every press, so programming must sync the remote and opener receiver to the same code pattern.
Look for the rolling-code setup signals:
- Activate pairing mode at the opener head using the learn button.
- Press the remote button until the opener light flashes or clicks to confirm.
- Test the remote right away, then test again after a short pause.
- Re-run pairing if the first test works but the second fails.
- Confirm the remote matches the opener generation if pairing fails.
A successful rolling-code setup keeps working across repeated tests over time, which shows the opener accepted the remote’s secure signal pattern and saved it correctly.
LiftMaster Garage Door Opener Remote Setup Tips for Common Models
A LiftMaster garage door opener remote usually pairs quickly when the remote series matches the opener’s security system, and the receiver can read a clean signal during setup.
Practical tips that improve setup success include:
- Check the opener label or sticker for compatible remote series and frequency family.
- Confirm the remote model matches the opener generation to avoid signal mismatches.
- Replace the battery before pairing, as a weak battery can cause partial programming.
- Keep the antenna hanging down and away from metal for better range.
- Swap nearby LED bulbs if only close-range is needed, since some bulbs generate radio noise.
- Test from your parking spot, then run two full open-and-close cycles.
According to the remote programming guide for your LiftMaster opener model, a clear confirmation light or click is the most reliable indication that the remote programming was saved correctly.
How to Program Multiple Remotes to One Opener
Multiple garage door opener remote units can be added to the same opener when the learn sequence is used carefully, so existing remotes stay paired.
Steps to add a second remote without erasing the first:
- Press and release the learn button once to enter pairing mode.
- Press the new remote button within the time window.
- Stop when the opener confirms that the signal was saved.
- Test the original remote and the new remote back-to-back.
- Label the new button to keep the mapping clear.
Steps to program one remote for two separate garage doors:
- Decide which remote button controls each door.
- Pair button 1 to opener A using the learn sequence.
- Pair button 2 to opener B using the learn sequence.
- Test each door separately with the other door closed.
- Re-test after five minutes to confirm a stable response.
Consistent results across repeated tests confirm that the opener correctly saved each remote signal without overwriting the existing setup.
How to Reset a Garage Door Opener Remote
Resetting a garage door opener remote clears old signal data so you can reprogram it cleanly when pairing fails, or access needs to be removed.
Follow these reset steps carefully:
- Locate the learn button on the opener head.
- Press and hold the learn button for about 6 to 10 seconds until the indicator light turns off.
- Release the button once the light goes out to confirm memory is cleared.
- Reprogram each remote and keypad you want to keep using.
- Test every device to confirm stable operation.
A successful reset is confirmed when the old remotes no longer operate the door and newly programmed remotes respond consistently.
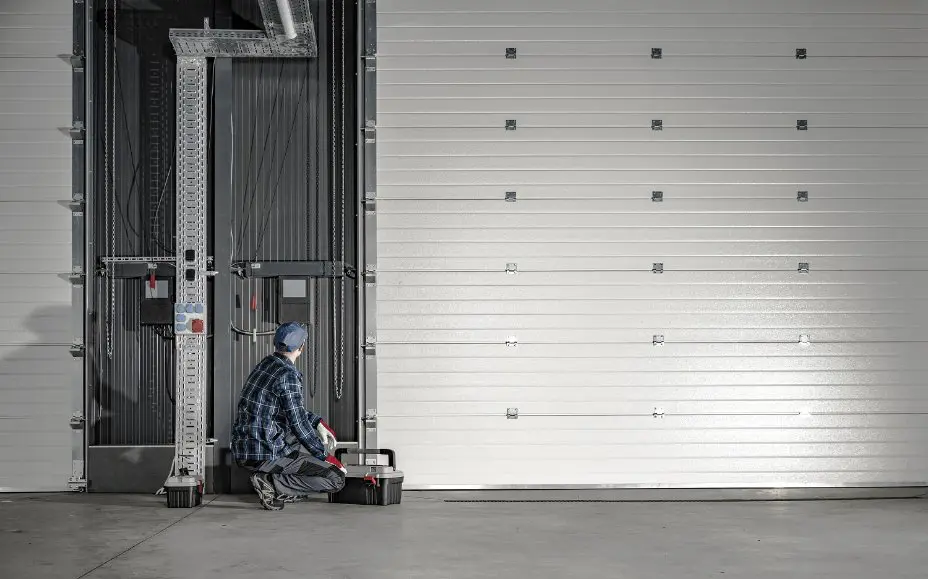
Garage Door Opener Remote Repair vs Replacement
A garage door opener remote can sometimes be restored with basic cleaning and contact checks, but repeated signal or pairing failures often mean replacement is the more dependable choice.
Pattern to Check | Repair Is Often Enough When | Replacement Is Often Better When |
Battery contact pattern | Light corrosion or dirt is present, and cleaning restores power | The battery will not seat firmly, or the contacts are bent or broken |
Button response pattern | Buttons feel sticky but still register consistently | Buttons fail to register, stick badly, or feel worn out |
Range pattern after a fresh battery | Range improves after cleaning and retesting | Remote only works up close, even with a fresh battery |
Pairing stability pattern | Pairing holds after reprogramming and repeat tests | Remote pairs, then loses pairing, or works only briefly |
Physical wear pattern | The case closes tightly and feels intact | The case is cracked, loose, or will not stay closed |
To learn more about the steps for choosing a compatible replacement and pairing it correctly, read our blog on How to Replace a Garage Door Opener Remote, which explains model matching and reliable programming steps to help restore consistent operation.
Where to Find Manuals and Model Information
Accurate programming starts with identifying the opener and remote, so the fastest path is to check the labels first, then search for the correct support page.
Places to find the details you need:
- Check the opener head label for the model number.
- Confirm the model number of your garage door opener on the same label.
- Write down the opener’s brand and any security terms listed.
- Check the remote back panel for its model info.
- Search the brand site using the exact opener and remote model details.
Details that matter most for matching instructions:
- Compatibility between the opener and the remote series
- The opener’s frequency and frequency family
- Rolling code security vs older code types
- Support for smart add-ons like a smart garage hub
Low remote power can also cause programming attempts to fail even when the opener model and remote details are correct, and our blog on When to Change a Garage Door Opener Remote Battery explains when a battery swap is the smart next step after you verify the labels, brand, and compatibility.
A helpful reference for connected setups is the Smart Garage Hub Wi-Fi setup guide from Chamberlain, which explains how myQ pairing works and helps confirm that a smart hub is not interfering with remote access in home automation systems.
Reliable Programming Help for Garage Door Opener Remotes in San Francisco, CA
A properly programmed garage door opener remote should work on the first press, with the opener responding quickly and the garage door system moving smoothly every time. When problems continue after careful setup, the cause is often compatibility, signal frequency, or a receiver issue inside the opener.
Automatic Garage Door Corporation helps homeowners in San Francisco, CA, troubleshoot remote controls, confirm compatibility, and restore secure access for older systems and modern garage door openers, including smart add-ons like myQ. When you want reliable results and clear next steps, contact us or give us a call today for step-by-step support.
Frequently Asked Questions
Which garage door opener remote is compatible with my existing garage door system?
Compatibility depends on your opener brand, security type, and frequency family. We recommend matching the remote to your opener model and receiver type first, then confirming it supports your specific radio frequencies and the opener’s security signal. This avoids repeat pairing failures.
How do I program a new garage door opener remote?
Start by locating the programming button on the opener head, then use the learn mode steps to sync the remote. We recommend setting up close to the opener, confirming the light blinks or clicks in response, and then testing at a normal distance to verify a stable signal and consistent operation.
What should I do if my garage door opener remote stops working?
Replace the battery first and test the wall button to confirm the opener still runs. If the wall button works but the remote does not, reprogram the remote and test for range issues. If it still fails, the remote or receiver may need service, so searching for a garage door opener remote near me can help you find local support.
Can I buy a replacement garage door opener remote at hardware stores like Home Depot or Ace?
Yes, hardware stores often carry compatible remotes and universal options, but you still need to match your opener brand and security type. We recommend checking your opener label and remote model details first, so you do not purchase a remote that cannot pair with your opener.
What are the main brands of garage door opener remotes available?
Common brands include Chamberlain, LiftMaster, Genie, Linear, and Craftsman. Brand matters because each opener family may use different security signals and compatibility rules, even when the remote looks similar.
Is it possible to use a universal remote for my garage door opener?
Yes, many universal remotes work with major brands, but success depends on matching the opener’s security type and frequency family. We recommend confirming compatibility first, then using the correct programming steps for your opener generation to avoid false pairings.
How do I reset a garage door opener remote?
Some remotes have a reset sequence, while others rely on clearing the opener memory and re-adding remotes. If you clear the opener’s memory, every remote and keypad must be programmed again. We recommend checking the brand instructions so you do not remove access you still need.
Are there troubleshooting steps if my remote won’t open the garage, but the wall button works?
Yes. Replace the battery, reprogram the remote, then test the range from a short distance. If the wall button works but the remote does not, the remote may be weak, or the receiver may be affected by interference or wiring issues near the opener head.
Where can I find instruction manuals for programming garage door opener remotes?
Start with the brand’s official support site and search using the opener and remote model details. We also recommend checking the opener head label or sticker for quick programming notes, since many units include basic pairing steps printed on the housing.
Are garage door opener remotes available online, and how do I choose the right one?
Yes, you can buy remotes online, but you should verify the model and compatibility first. We recommend confirming the opener’s brand, frequency family, and security signal type, then buying a remote that clearly lists support for that opener generation and receiver style.